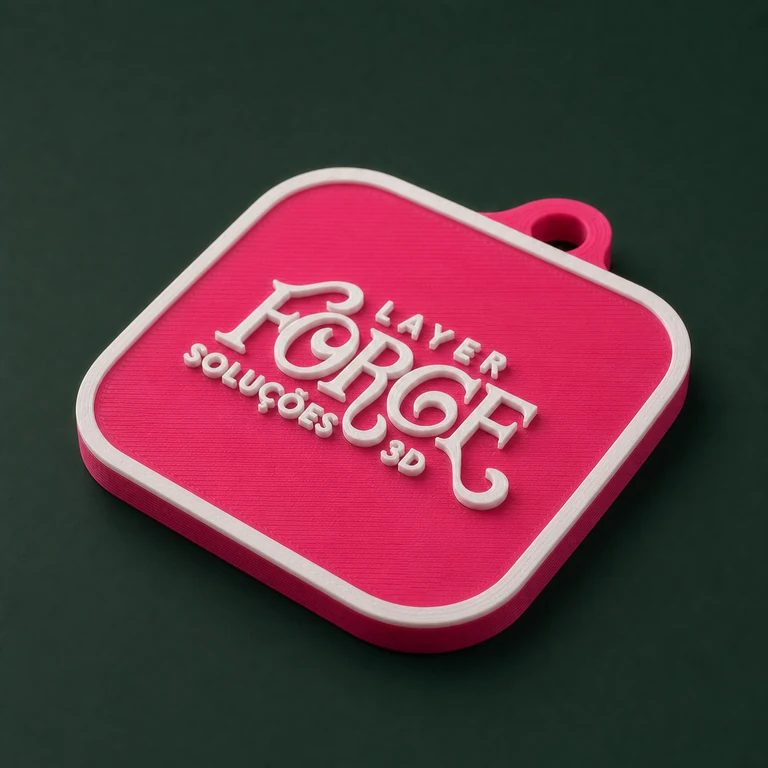
Select a keyring or a jewellery box according to the size, presentation and interaction you want.
02
Customise and program
Adjust the artwork, text or QR code and program the NFC tag separately with the content you want.
03
Review the pause
Check the cavity, the pause height and the orientation in your slicer before inserting the tag.
Uses
Choose the right product for the job
The NFC keyring puts the interaction into a compact object. The jewellery box keeps the lid and base separate and builds the tag into the bottom part.
Each design has its own dimensions and process; check the model description before choosing the tag.
How it works
The file prepares the physical space, it does not program the tag
The customiser creates the cavity and keeps the geometry needed to hold the component. The tag content must be written by the user with a compatible NFC app or device.
Test the scan before closing the part and again after assembly, because material, position and distance all affect how well it works.
Printing
Check the pause, clearance and orientation
Some models keep a print pause so you can insert the tag. Open the 3MF in a compatible slicer and confirm that the command appears on the right layer before starting the printer.
Never place a tag on a hot surface without checking the component's limits and the safe procedure for your printer.
Experience
Pair NFC with visible instructions
A short phrase telling people where to tap helps the customer know where to hold their phone. Visible artwork can also show what the product is for.
Tell the buyer what content will open and keep the programmed link or information under your control.
Updated catalogue
Models in this category.
2 models
01
3 shapes + NFC
NFC tag keychain
Customise the keychain face with the client's brand and export the file ready for slicing.
 Gestor 3D