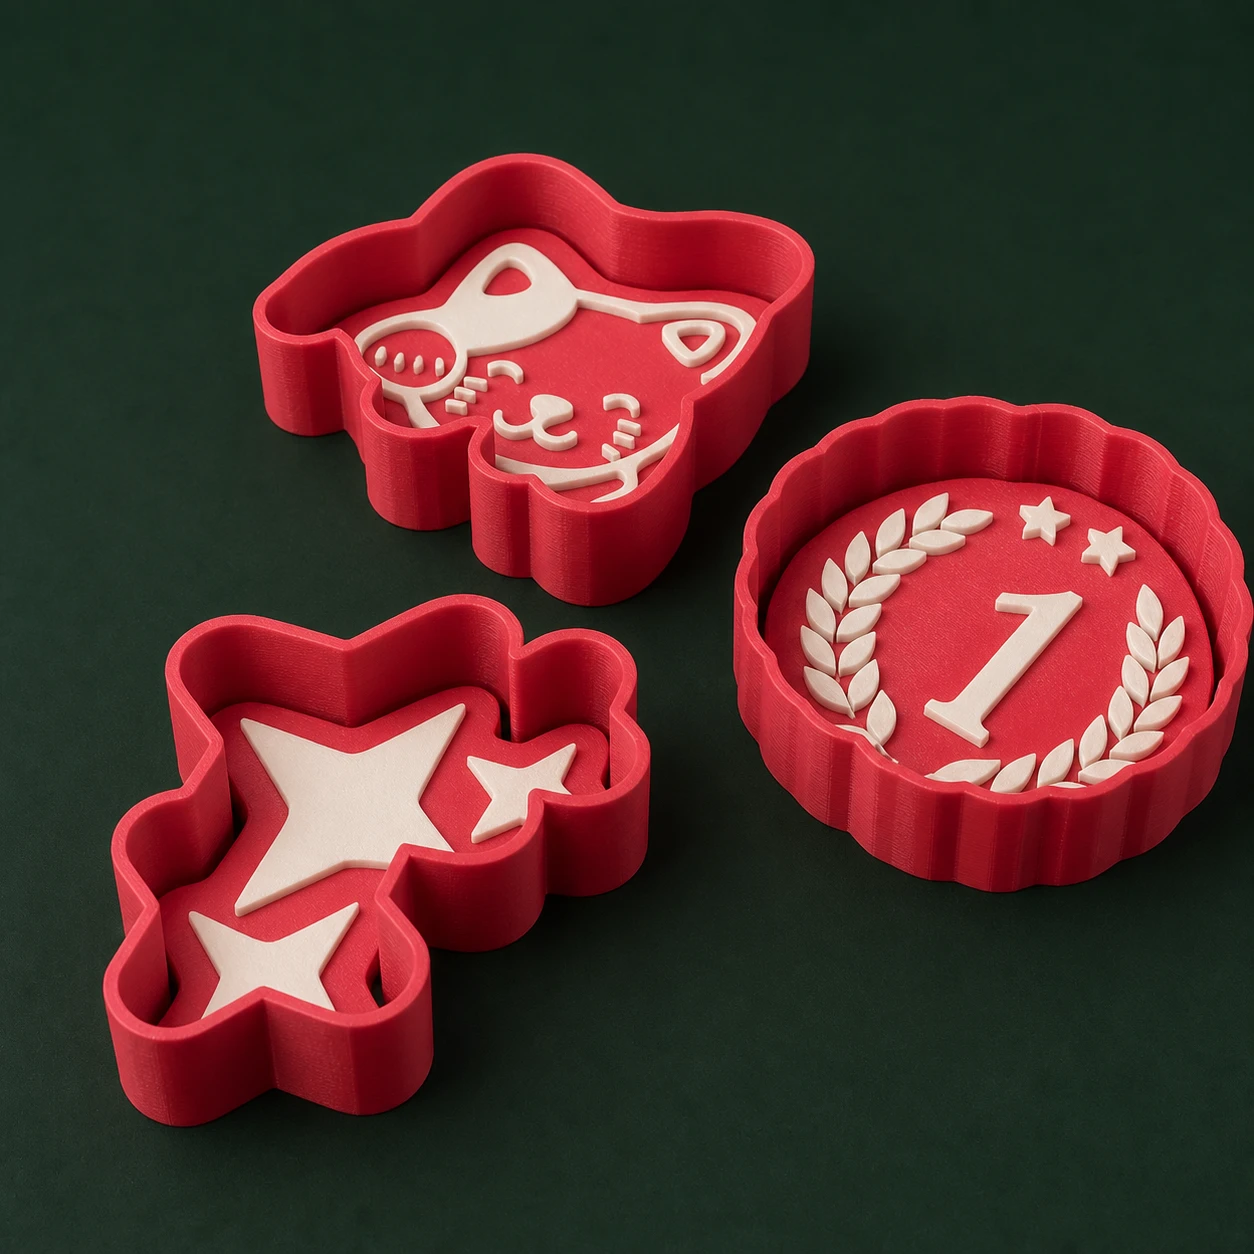
Use clean SVG artwork with a clear outline and details that suit the size of the cookie.
02
Generate the parts
Upload up to four files and check the stamp and cutter created for each design.
03
Run a test
Review the 3MF in your slicer and test cutting, imprinting and cleaning before producing the batch.
Two functions
An outline to cut and a relief to imprint
The cutter follows the outer silhouette of the artwork, while the stamp presses the inner details into the surface of the dough. Both parts need to keep the same proportions so the design lines up.
The final file organises the matching components so you can identify them before printing.
Geometry
Good artwork starts with clear outlines
SVGs with crossing lines, tiny shapes or open regions can produce fragile details. Simplify the image and keep only the lines that really need to show on the cookie.
The preview helps you spot problems, but the actual thickness also depends on the settings used in your slicer.
A single generation can combine up to four different designs. This lets you prepare themed sets in fewer steps and keep every component in the same file.
Check that each cutter and each stamp appears as a separate object before arranging the build plate.
Food contact
The manufacturing process needs its own precautions
The tool does not automatically make a part food safe. The maker must consider material, equipment, porosity, cleaning, coating and the applicable regulations.
Test with real dough and give the customer clear instructions for use and cleaning.
Updated catalogue
Models in this category.
1 model
01
Kit of up to 4
Cookie stamp and cutter
Upload up to four SVG artworks and generate a kit with stamps and cutters adapted to each shape.
 Gestor 3D